A stain below a skylight does not establish that the glazing is leaking. Water can enter at the curb, flashing, membrane seam, adjacent equipment penetration, or a different roof area and travel before it appears indoors. We start with the affected room, roof zone, and access contact, then compare the interior report with the visible assembly. Commercial Roofing Victorville records whether the concern is glazing, curb metal, membrane flashing, sealant, or an unresolved path.
For an occupied suite in Old Town Victorville or a building near the Eastern Bear Valley Road corridor, the same sequence applies: isolate the reported detail, check adjacent transitions, and photograph what is accessible. A commercial roof inspection can map the leak route before a repair is selected.
Detail inventory: identify each opening
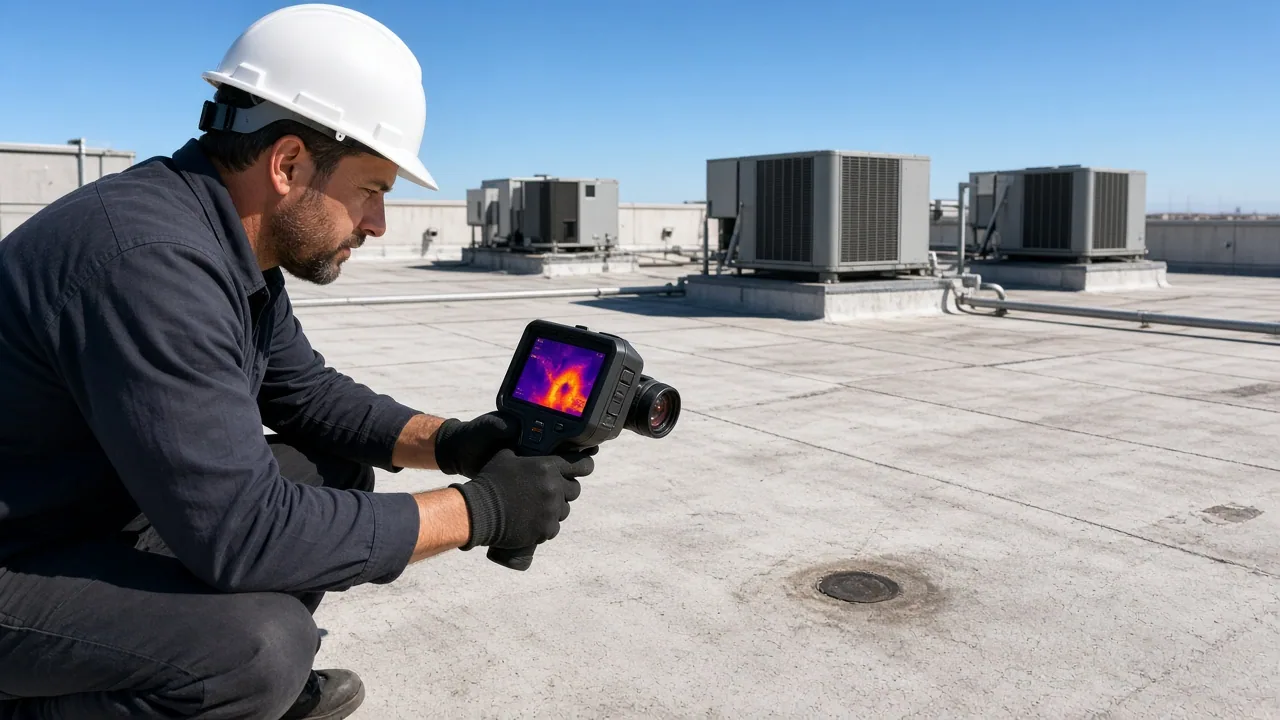
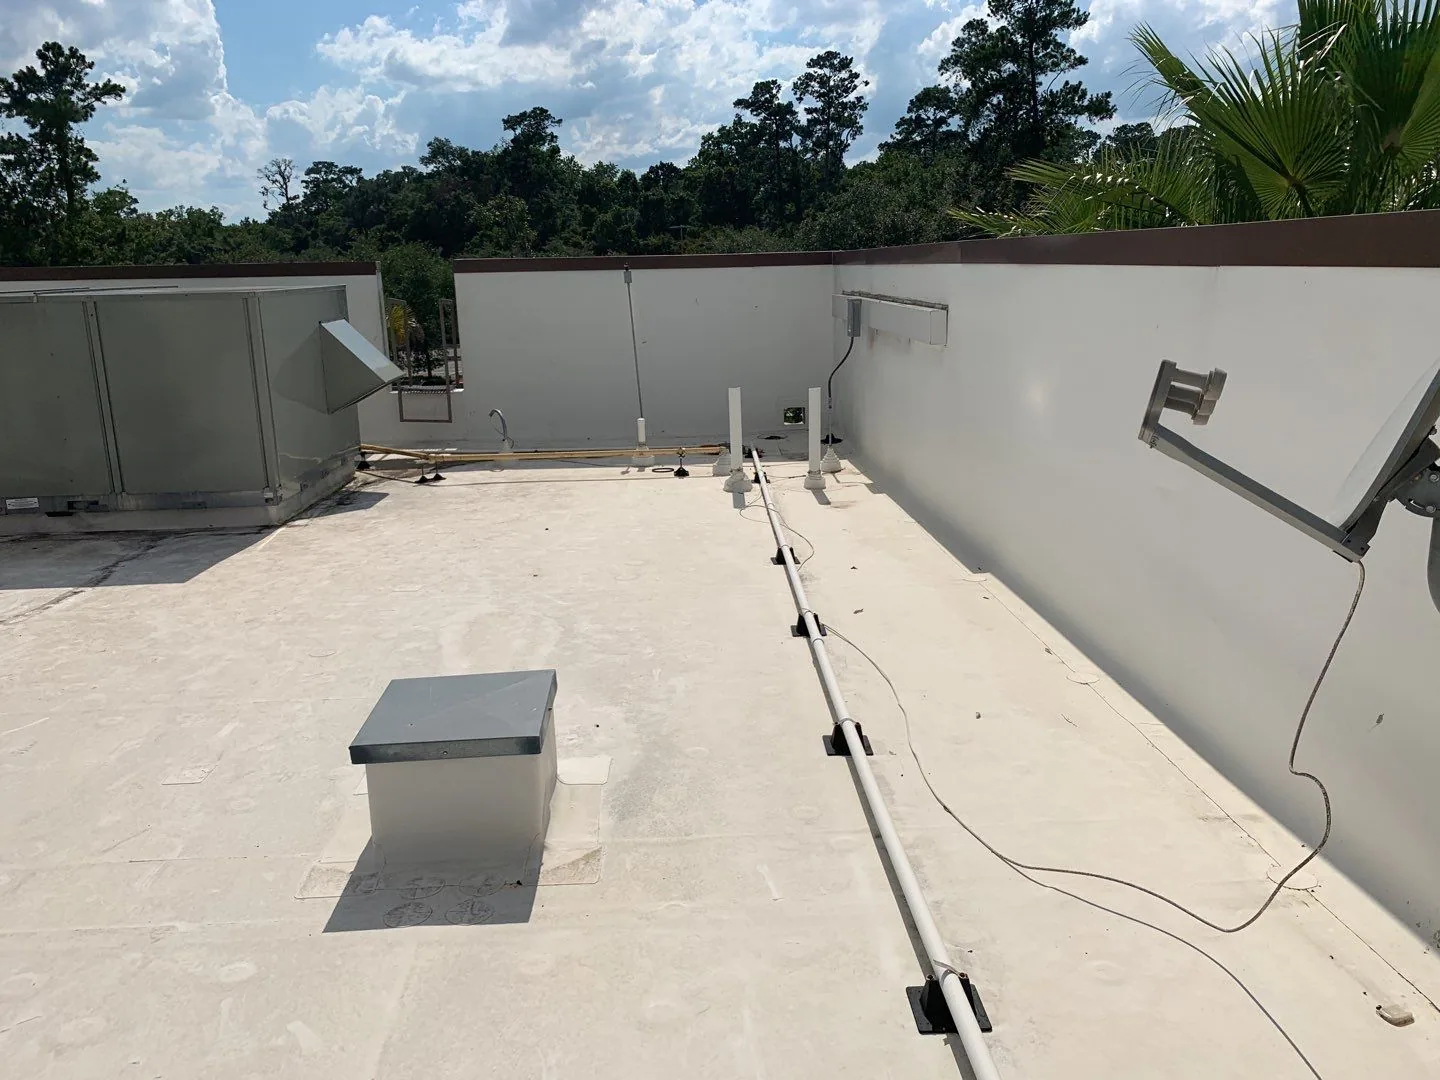
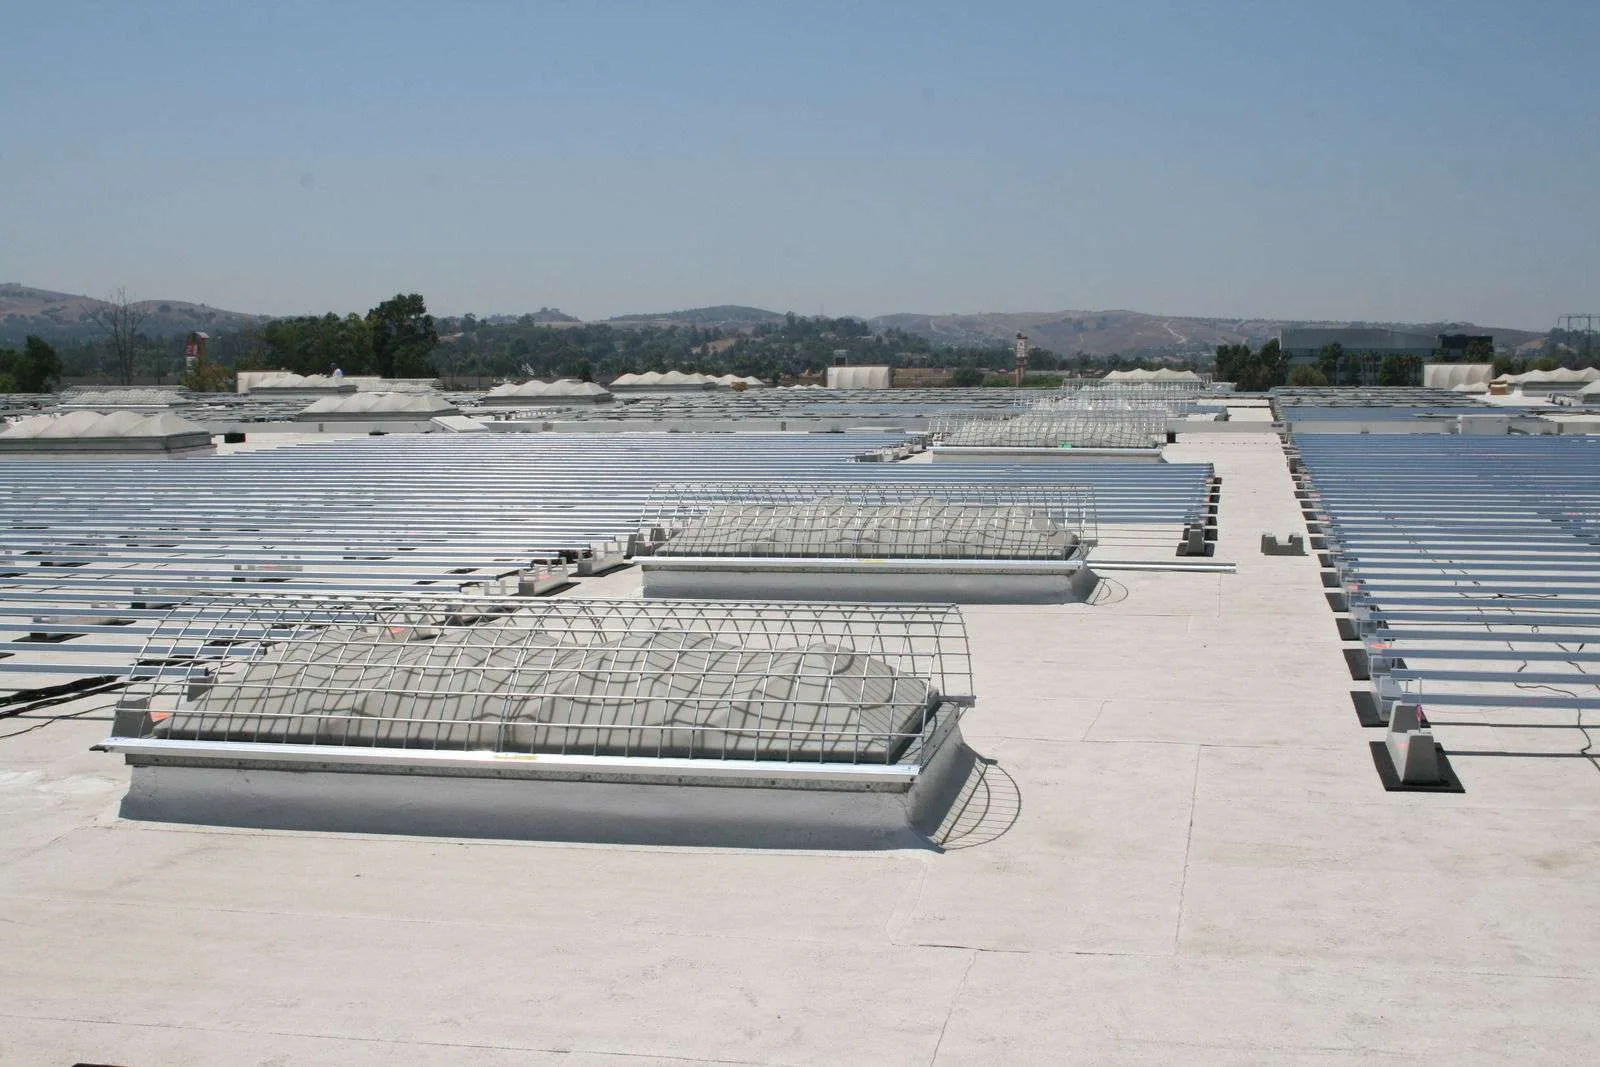
We map skylights, hatches, pipe penetrations, equipment curbs, conduit supports, and abandoned openings within and around the reported zone. Each detail gets a location and condition note, including curb height where measurable, membrane type if identifiable, flashing condition, sealant, fasteners, and any previous patch. A wide photograph shows roof context; close images make a seam, corner, or split visible. The record distinguishes a skylight unit from its roof-to-curb transition.
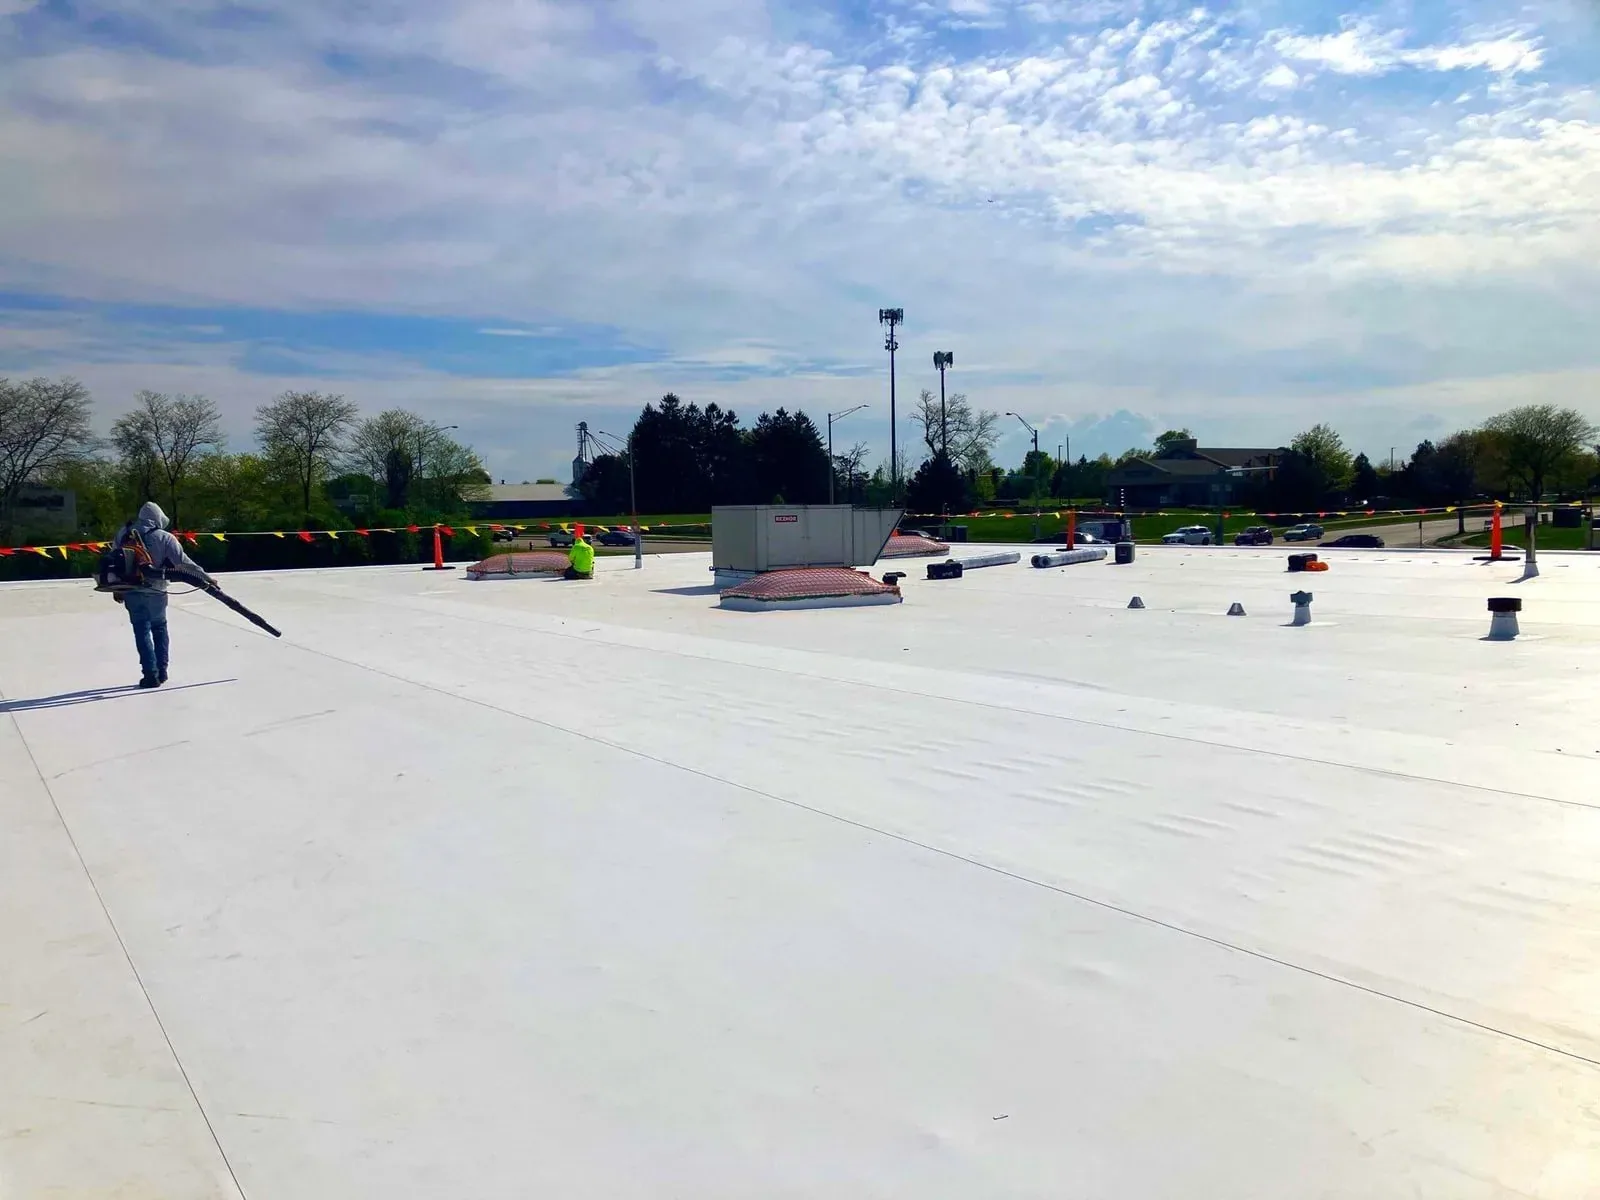
If several roof additions use different membranes, we identify where the assembly changes before proposing a patch. A product that adheres to one surface may not bond to an adjacent material. Where a detail cannot be safely approached, we mark it as not inspected rather than implying that the whole roof was reviewed. The facility contact can provide roof plans, unit schedules, prior leak reports, and service records to help compare the field layout with the building file.
Leak path: compare interior and exterior evidence
At the interior, note the room, stain or active drip, ceiling type, nearby electrical equipment, and when water appeared. At the roof, inspect the closest curb or penetration and adjacent seams, drains, walls, and equipment supports. Water may travel along a deck flute or framing before reaching the ceiling, so we do not draw a straight line from stain to opening without supporting evidence. Photographs and a simple zone key help the next reviewer follow the same path.
Victorville's climate and structural design requirements do not establish that an individual curb or skylight is leaking. We use roof condition and site documentation for that decision. If the entry point remains uncertain, a controlled moisture test or selective opening may be discussed with the owner, including how the assembly will be restored. The report states which methods were completed and which remain a proposed next step.
Curb and flashing: check the transition
A curb detail should shed water from the roof field while keeping membrane continuity at corners and terminations. We inspect the base flashing, laps, corners, counterflashing, sealant joints, and the distance between the curb and nearby obstructions. Loose metal, open corners, split membrane, crushed insulation, or movement may require distinct work. We record the observed defect and dimensions so the repair scope is tied to the assembly rather than to a generic direction to reseal the skylight.
The skylight unit itself may be a separate trade item. We note cracks, failed glazing, damaged frames, or condensation separately from roof flashing and avoid promising a glazing repair that is outside the roofing scope. A membrane system such as TPO roofing has manufacturer-specific detail requirements; field work must use compatible components and approved preparation. If an active warranty applies, the property owner should review notice requirements before authorizing a repair.
Work planning: protect light, access, and occupants
Before work, the facility contact confirms whether the skylight provides daylight to an operating area, whether a lift or interior protection is needed, and how the crew can reach the curb. The work boundary should prevent foot traffic across the opening and protect occupants below from tools or removed material. Where the roof is occupied by other trades, we coordinate a sequence that does not leave an unprotected penetration at the end of a shift or between visits.
The facility contact also confirms whether ceiling tiles, inventory, or sensitive equipment below the opening need to be covered before materials are moved overhead. If the work requires a temporary panel or screen, record how it is secured and who checks it after the crew leaves. Where natural light is needed for operations, schedule the opening and close-up stages so the unit is not left exposed between work periods.
The crew identifies weather and surface conditions that affect preparation and cure, then stages compatible materials near the work zone without blocking drains. If a temporary cover is needed, the property team should understand whether it limits daylight, affects ventilation, or requires monitoring. Any change from the approved scope is documented before the opening is closed. Access windows and return visits are set with the facility contact rather than assumed from a standard schedule.
Repair sequence: open, prepare, reinstate
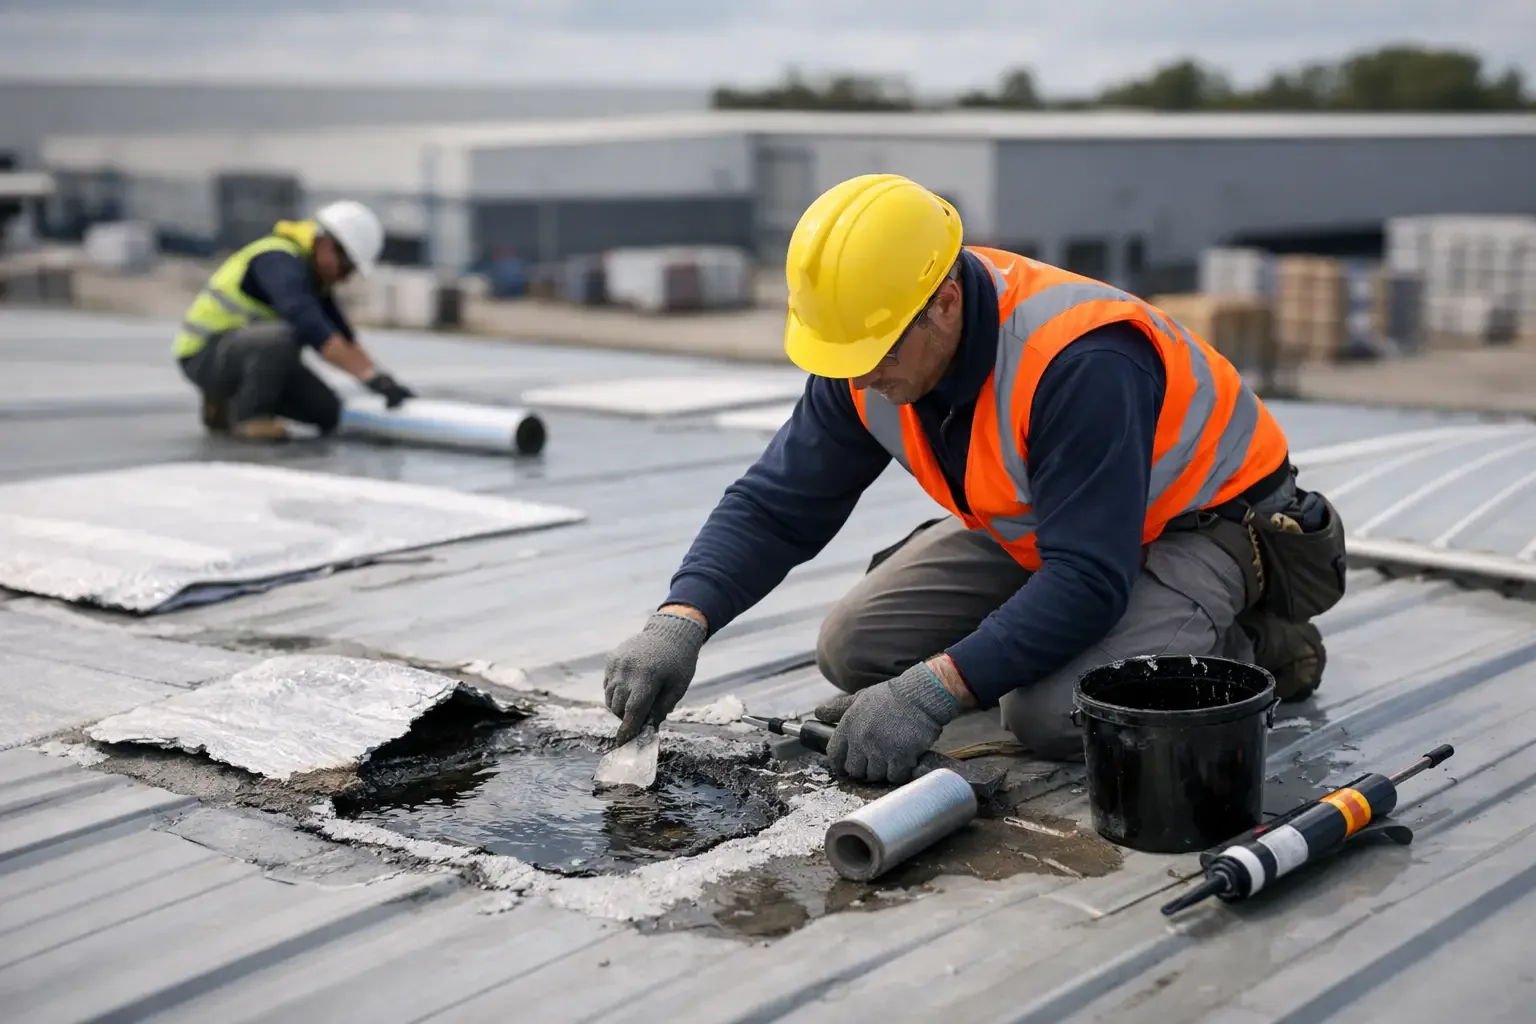
The repair starts with protection and controlled removal of failed flashing or sealant within the approved boundary. The substrate and curb base are examined as they are exposed. If wet insulation, damaged deck, concealed corrosion, or a larger failure appears, the crew stops at the agreed approval point and records the condition. A new flashing detail is installed with compatible materials, continuous laps, formed corners, and terminations suitable to the existing roof system.
For a pipe or conduit penetration, the same care applies to the boot, clamp, seal, and membrane tie-in, but the dimensions and movement differ from a skylight curb. The closeout should identify which opening was addressed. A commercial roof leak repair visit can continue from the mapped symptom, while a commercial roof repair scope can define the physical correction. We photograph concealed layers before cover-up where authorized.
Verification: keep the record with the roof file
After the repair, review corners, laps, counterflashing, sealant transitions, and the adjacent field. Photos should show the completed detail and the surrounding roof zone. If a water test is specified and authorized, state the method and result; a visual inspection should not be described as proof that every leak path is closed. Note any remaining glazing, framing, or interior work that requires another trade or owner decision.
The roof condition reports record can retain the before-and-after evidence, while roof warranty management may help the property team track documentation requirements. Keep observations tied to the building rather than applying a citywide assumption. Call with the room affected, detail location, roof access contact, and any available photos so we can plan a focused visit.
Commercial Roofing Questions
Is the skylight always the source of a leak below it?
No. Water can travel from a nearby seam, penetration, drain, or wall transition before appearing indoors. We compare interior and roof evidence before identifying a repair point.
Can a roofer repair the skylight glazing?
The roof scope can address curb flashing and membrane transitions. A damaged lens, frame, or glazing unit may need a skylight or glazing trade, which we identify separately.
What happens if insulation is wet at the curb?
We document the exposed condition and stop at the approved scope boundary. The owner can authorize removal, replacement, or additional testing after the affected extent is established.
Will a patch work on every roof membrane?
No. Membrane type, surface condition, manufacturer details, and prior repairs affect compatibility. We identify the assembly and select materials for the actual transition.
What access should the facility provide?
Name the roof entrance, escort contact, work window, room below the detail, and any occupied or sensitive area that needs protection. Share plans or prior repair records if available.